The best way to screencast or record screen for free, using any Operating System or Device
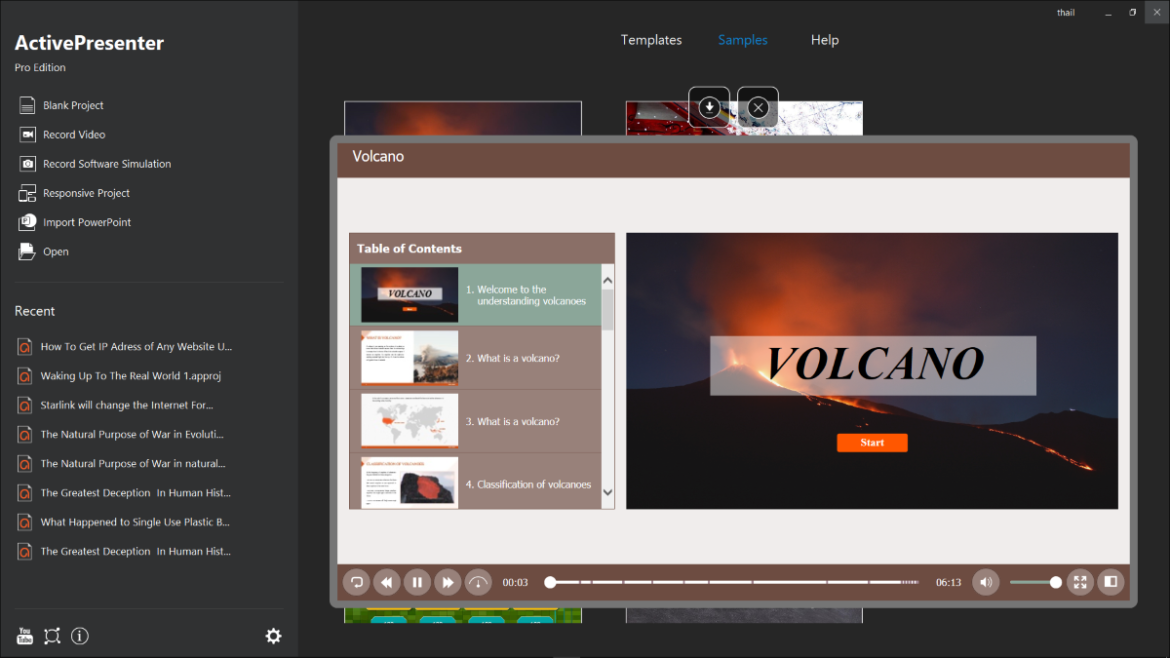
Windows; Active Presenter Pro Free Edition
Active Presenter Pro is a fine option for making screencast, for it offers the option of adding webcam too. You can use the free version to export to MP4 videos, and choose from a multitude of export quality options.
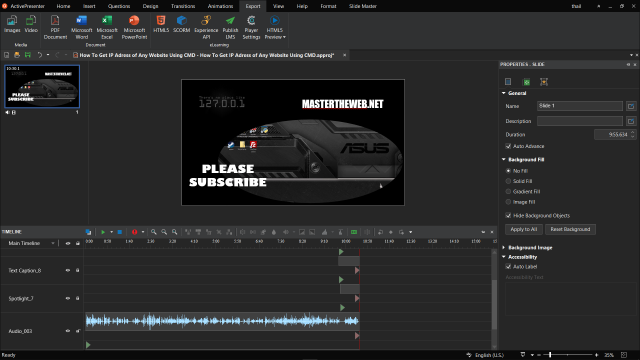
The paid version, allows you to export to many more formats, such as a HTML5 slideshow, power point presentation, pdf, SCORM, Experience API, or a number of other formats, as well as the option of flex for responsive presentations, and OBM based interactive questionnaires, surveys, tutorials and examinations.
Here are 5 useful ways to screencast or record screen for free, using Windows, Linux, Mac OS, Android, iPadOS, or iOS? 5 List Free Alternatves for each operating system;
- OBS Studio – open-source software for video recording and live streaming
- Apowersoft Free Online Screen Recorder – web-based screen recording tool
- Screencast-O-Matic – cloud-based screen recording and video editing software
- QuickTime Player – built-in screen recording tool for Mac that can also be used on Windows
- Bandicam – screen recording software that allows for recording a specific area on the screen or the entire screen
Linux:
- OBS Studio – open-source software for video recording and live streaming
- SimpleScreenRecorder – open-source screen recorder for Linux
- Kazam – screencasting and recording tool for Linux
- RecordMyDesktop – open-source screen recording tool for Linux
- VokoScreen – screencasting and recording tool for Linux (Github Open Source Code Repository)
Mac OS:
- QuickTime Player – built-in screen recording tool for Mac
- OBS Studio – open-source software for video recording and live streaming
- ScreenFlow – screen recording and video editing software for Mac
- iShowU – screen recording and video editing software for Mac
- Monosnap – screen capture and recording tool for Mac
Android:
- AZ Screen Recorder – screen recording app for Android
- DU Recorder – screen recording app for Android with video editing features
- Mobizen – screen recording app for Android with video editing features
- SCR Screen Recorder – screen recording app for Android with video editing features
- ADV Screen Recorder – screen recording app for Android with video editing features
iPadOS:
- Reflector – screen mirroring and screen recording tool for iPad
- AirServer – screen mirroring and screen recording tool for iPad
- X-Mirage – screen mirroring and screen recording tool for iPad
- iTools – screen mirroring and screen recording tool for iPad
- Apowersoft iPhone/iPad Recorder – screen mirroring and screen recording tool for iPad
iOS:
- Reflector – screen mirroring and screen recording tool for iOS
- AirServer – screen mirroring and screen recording tool for iOS
- X-Mirage – screen mirroring and screen recording tool for iOS
- iTools – screen mirroring and screen recording tool for iOS
- Apowersoft iPhone/iPad Recorder – screen mirroring and screen recording tool for iOS
Using the Game Bar in Windows to Record Screen
The Xbox Game Bar is a feature in Windows 10 that allows users to record their screen, capture screenshots, and broadcast their gameplay. To use the Xbox Game Bar to record your screen:
- Press the Windows key + G on your keyboard to open the Game Bar.
- Click the “Yes, this is a game” option if prompted.
- Click the “Start recording” button (it looks like a circle with a dot in the middle) to start recording. The recording will start after a countdown of 3, 2, 1.
- To stop the recording, press the Windows key + Alt + R on your keyboard.
If you are not playing a game and want to use the Xbox Game Bar to record your screen, you can tell the app that everything is a game by following these steps:
- Press the Windows key + I on your keyboard to open the Settings app.
- Click the “Gaming” option.
- In the left pane, click the “Game bar” option.
- In the right pane, under the “Record this” section, click the “Record all apps” option.
Now, when you press the Windows key + G on your keyboard, the Xbox Game Bar will open, and you can use it to record your screen even if you are not playing a game.